Manage Clusters
Cluster Properties
When Clusters are successfully onboarded, have an associated set of property key-value pairs set by the provider or user during creation. These visible cluster properties are automatically discovered and show up in the cluster's Properties Tab.
Volume provider
The cluster properties also display the details of the volume providers of the cluster that in the cluster's Volume Properties Tab.
Volumes
The volumes within the cluster displays the Persistant Volume allocated within a cluster by a package. Once your package is deployed, you can see the In use flag presenting the underlying Persistent Volume mounted on a Container.
Modify Cluster Details
When needed you can edit the cluster details, such as it's name and description.
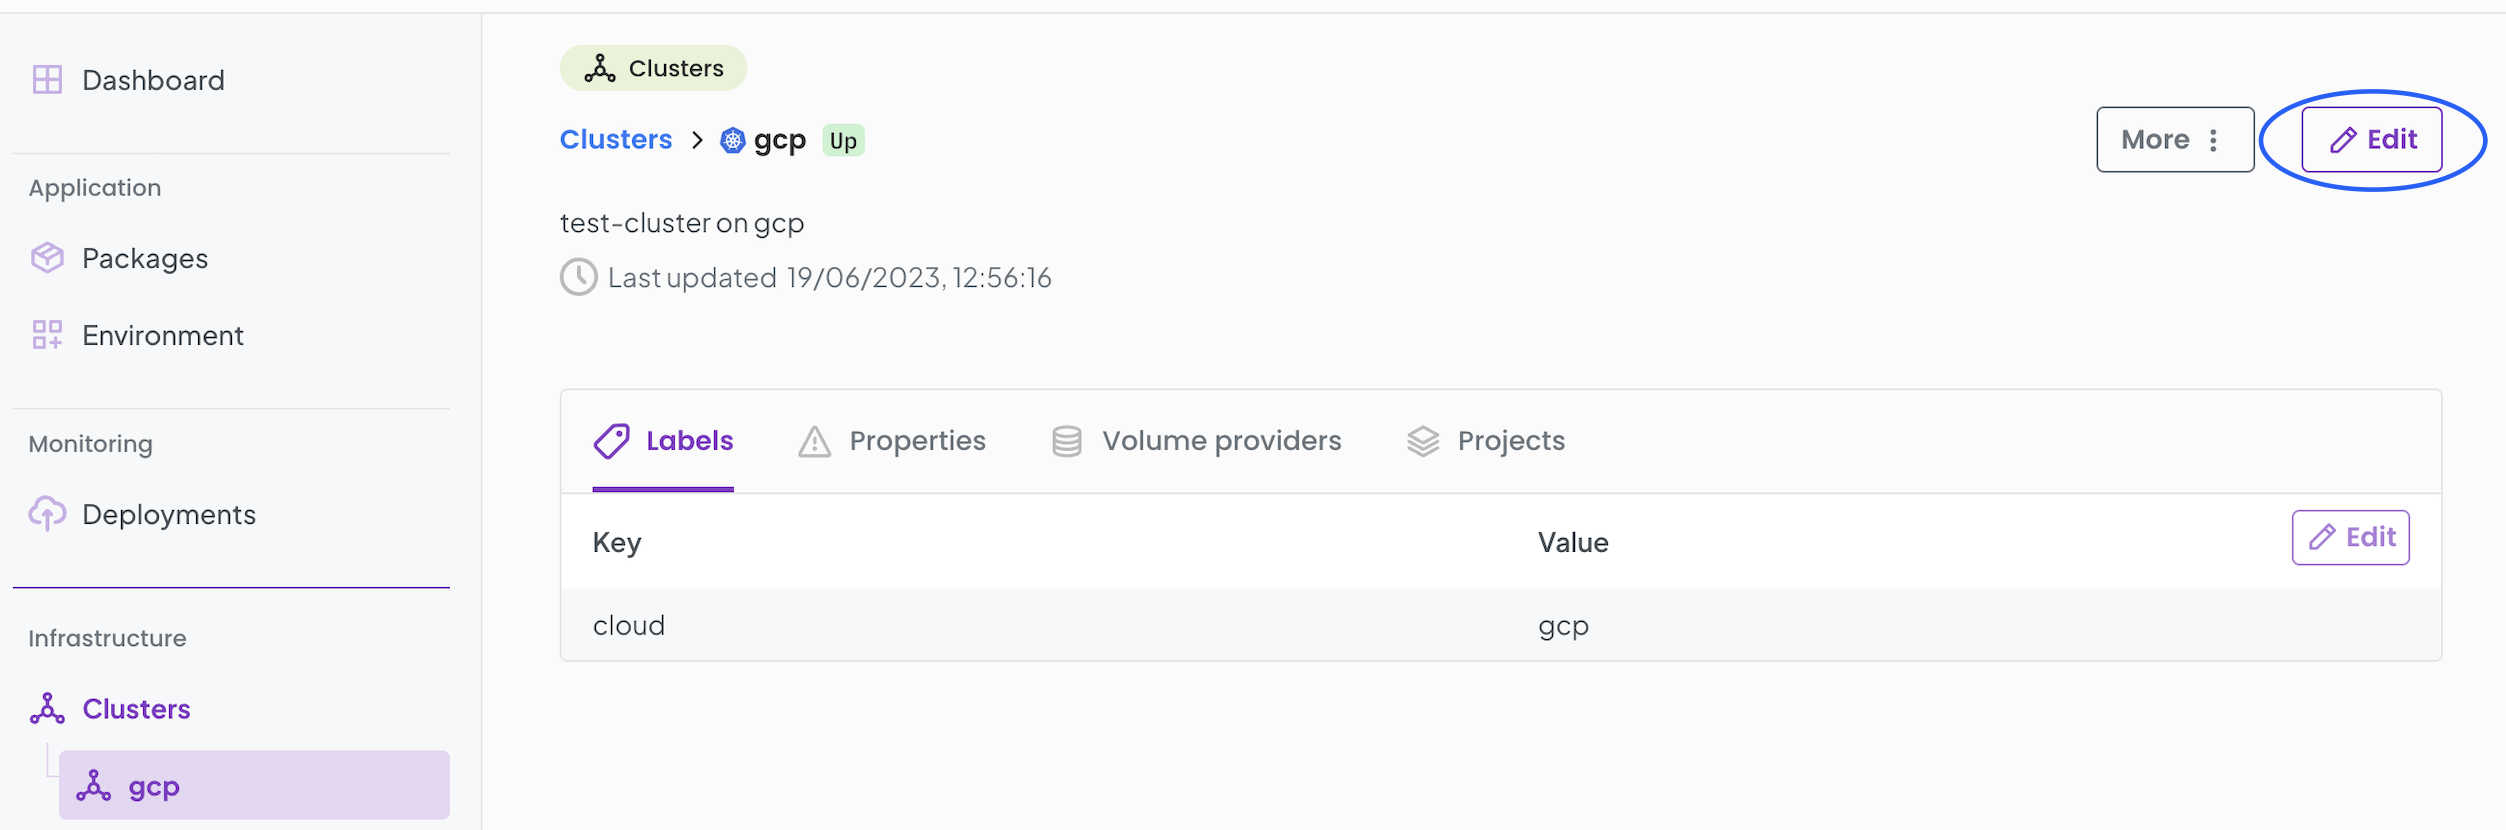
- Click on
Edit. - Rename your Cluster's display name and/or provide a different description.
- Optionally, you can choose to Allow to run privileged Container(s) on your cluster.
- Click
Save.
Bringing a Cluster Administratively Down and back to Up
OGC allows you to bring a Cluster Administratively Down for scenarios where you want to perform work on a cluster. Clusters that are Down are not available to run Worklaods. Any Workloads running on a cluster that is made Down are Terminated.
To bring a cluster administratively Down, navigate to the Cluster details page,
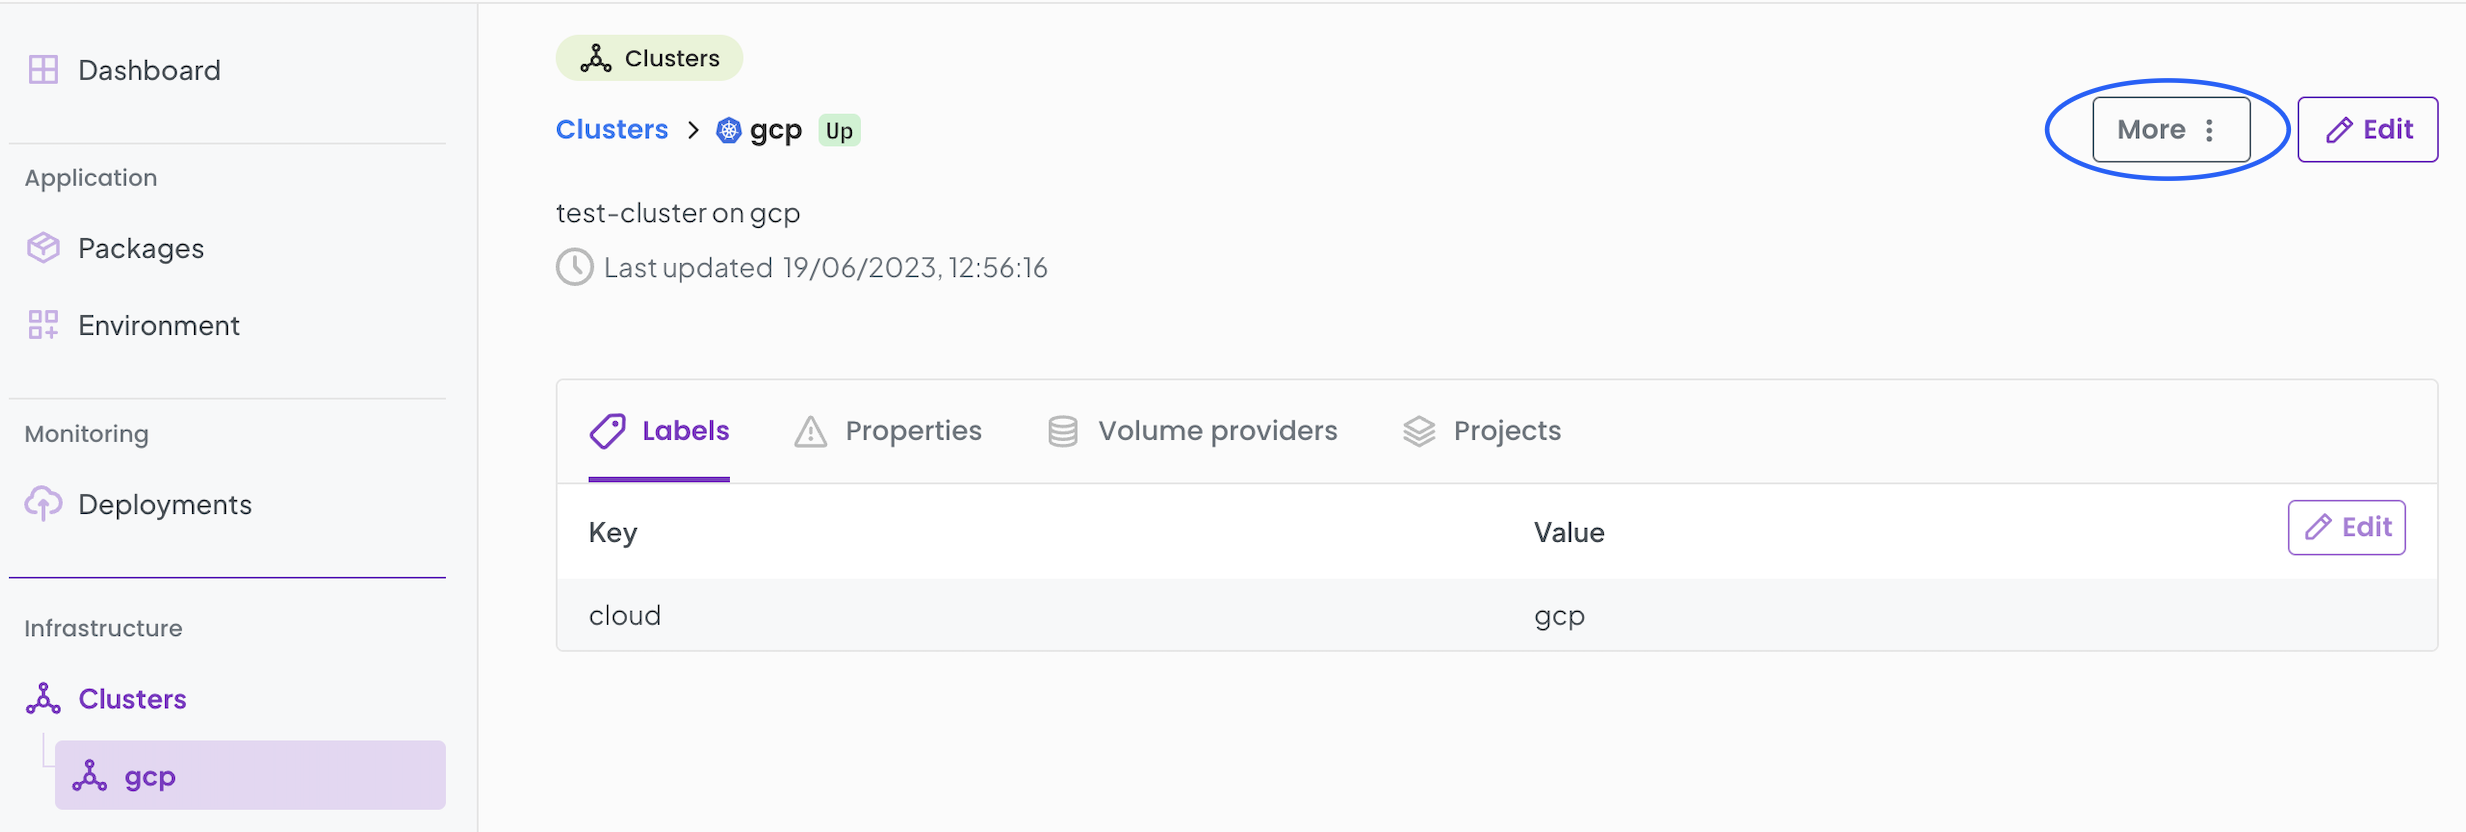
- Click on
More, next to the Edit action. - Choose
Take Offline. - Click
Yes, Proceed.
The Cluster status immediately transitions to Down. Any workloads on that cluster are Terminated.
To bring the Cluster back Up, follow the same steps as above,
- Click on
More. - Choose
Take Online.
The Cluster status then transitions from Down to Up.
Any workloads on that cluster that were previously running are NOT restarted.
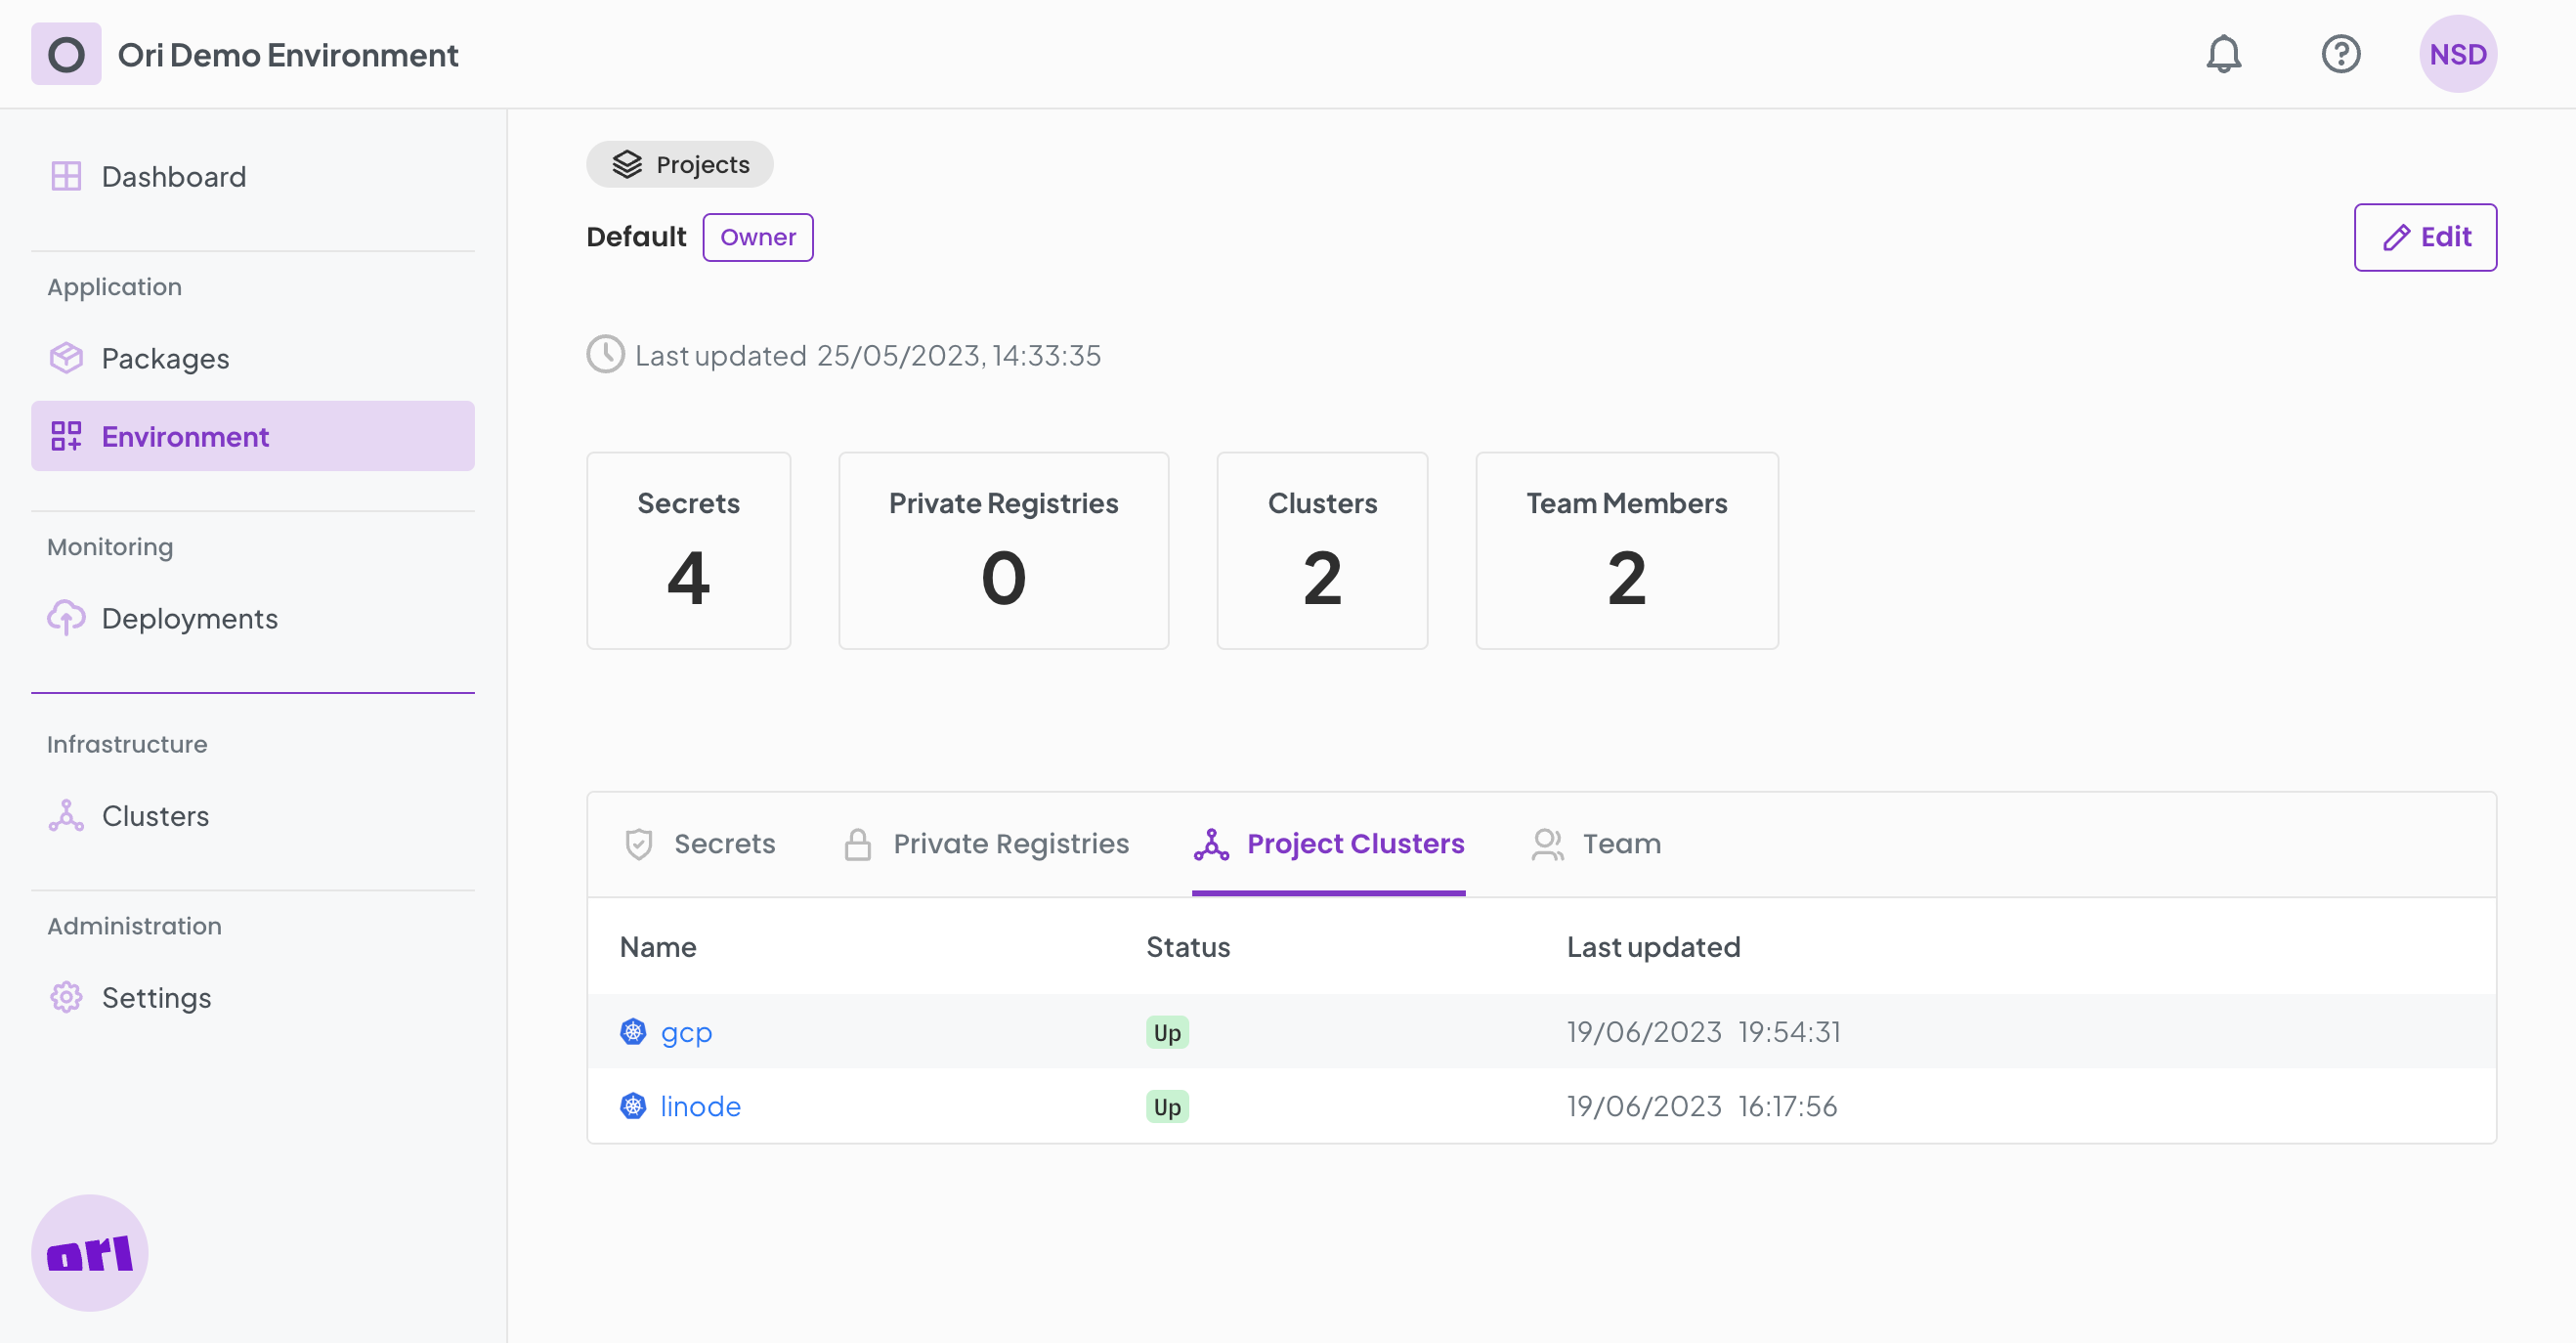
Viewing Cluster details as an Editor and Viewer
As a project Editor or a Viewer, you may view the cluster details by accessing Project Clusters tab within the project Environment.
Decomission a Cluster
At a certain point in time, you may want to decommission a Cluster you previously onboarded. This process is automated on OGC. If a cluster is successfully decomissioned, the underlying K8s cluster is left back to its initial state before it was onboarded.
To Decommission a cluster, your first need to bring your cluster offline. Go to the Cluster details page,
- Click on
More. - Then, click on
Take offlineand Confirm.
The Cluster will soon transition to Down state.
After this, click on More again, and select Delete from drop down menu.
Once the 'Delete' action is successful, the k8s cluster will return to its original state before it was onboarded, with all Ori processes removed. However, if the deletion process fails then the Cluster status on Ori will be marked as Decommissioning Failed. The user will have to remove the OGC processes from the cluster manually.
Removing a Cluster Manually
In case your Cluster fails to be deleted automatically via the process described above, and goes into Decommissioning Failed state, follow these steps to remove the cluster from OGC,
- Click
More. - Click on
Deleteand Confirm.
To remove all traces of the OGC software from the k8s cluster run the following commands,
helm uninstall ori-bootstrap-agent --namespace ogc-agents && kubectl delete ns ori-cluster-operator-system oge-apis ogc-agents && kubectl delete secret oge-wg-config