Environments
Environment represents a set of infrastructure into which a Package (or, more specifically, a specific version of the configuration for a Package) may be deployed, along with any parameters needed to customise that deployment for the Environment. Environments are Project specific and each project may have more than one Environment.
For example, a Project may have three Environments: Development, Test and Production. When a Package is under development it will be repeatedly deployed to Development until a version suitable for testing is generated. At this time that specific configuration can be deployed to Test, and if testing is successfull, then deploy into Production. Each of these deployments can be placed on different infrastructure - as the clusters used for Development will generally need to be less capable and numerous as those in Production. Equally, parameters are important because when deploying to Test the Package's Applications will need to connect to resources such as a test database, whereas in Production the full production-level resources need to be applied.
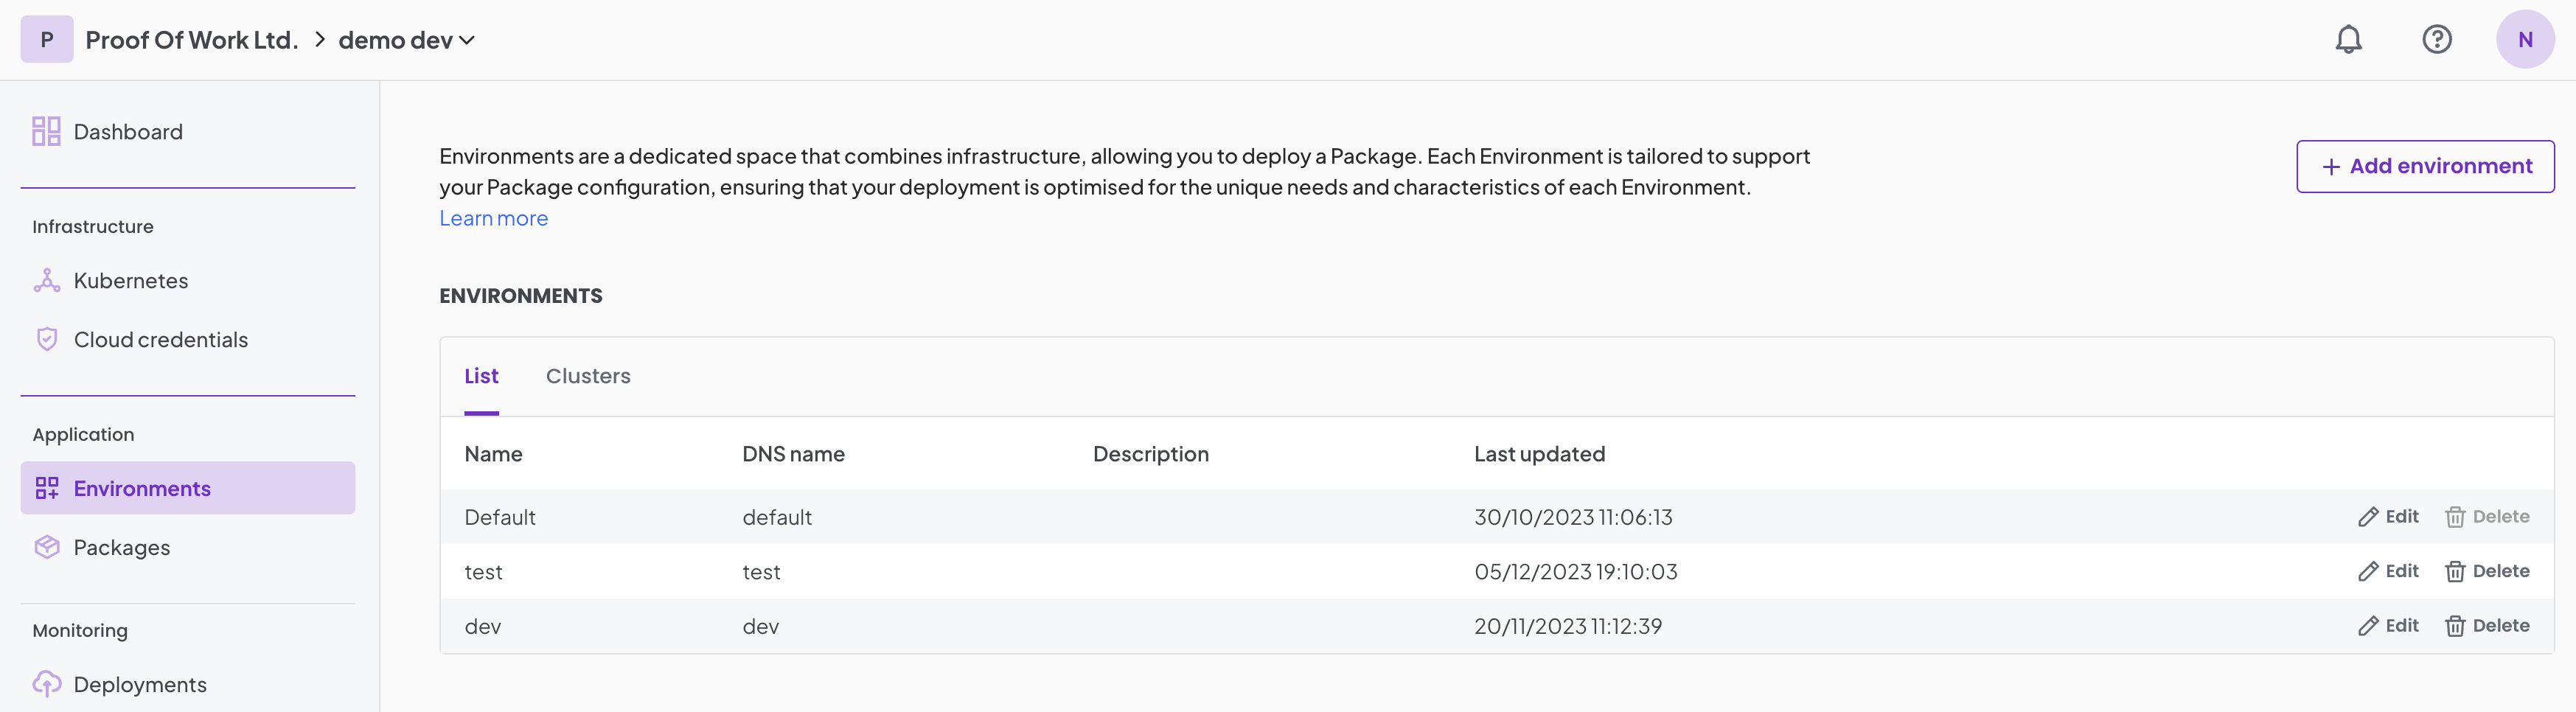
Add environments
- Navigate to the Environment on the left menu.
- Click on
+ Add Environment. - Give your new environment a display name and click on
Create.
That's it! You now have an Environment to start managing your resources.
To get you started, we have a 'Default' Environment created for you.
Add Clusters to Environment(s)
When clusters are added to desired project(s) at the time of onboarding, they also appear within the Clusters tab.
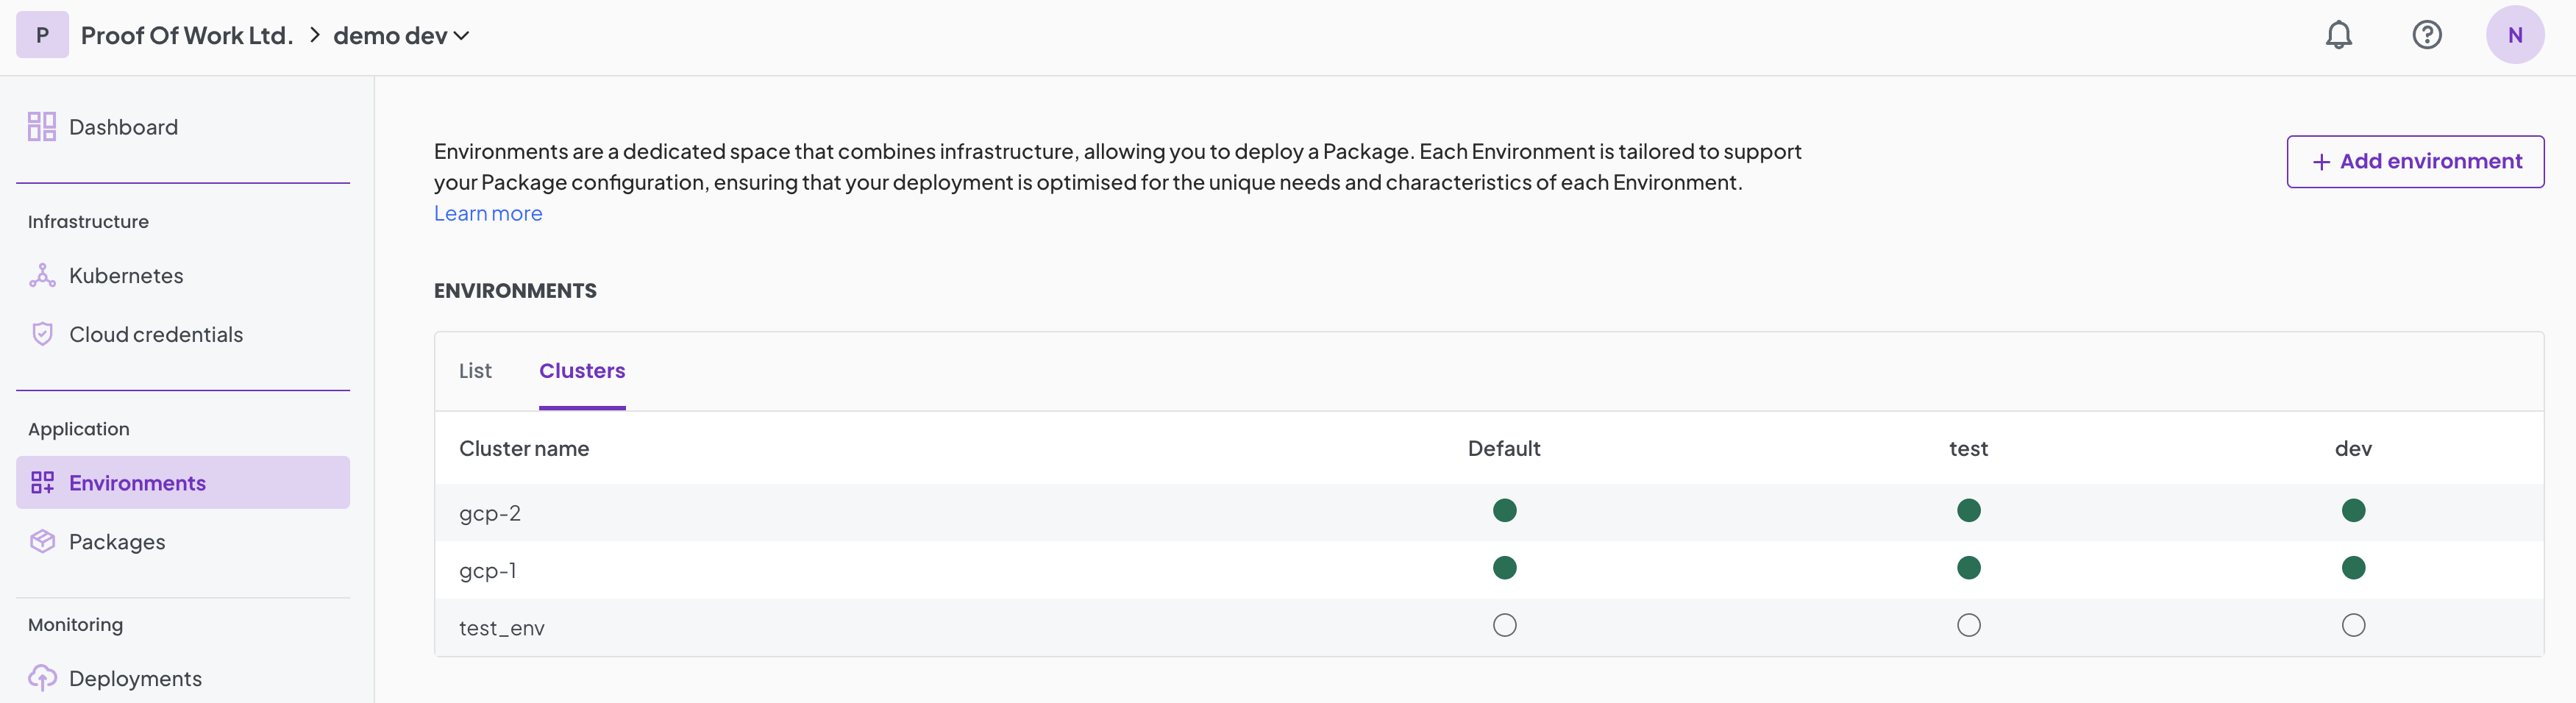
You can click on the bubbles against each Cluster to add to one or more Environment. This allows you to deploy your package to the any Environment with desired infrastructure capability.
Edit an Environment
At any given time, the display name of the Environment can be changed. The following steps can be taken to make changes:
- Navigate to the Environment on the left menu.
- Click
Editagainst the preferred Environment. - Change the name of the Environment and/or it's DNS name.
- Select
Save.