Manage Private Registries
Within the Project Settings you can configure Private registries in a project. Private registries allow software to be retrieved from secure registries where your organisation may be storing its containerised images.
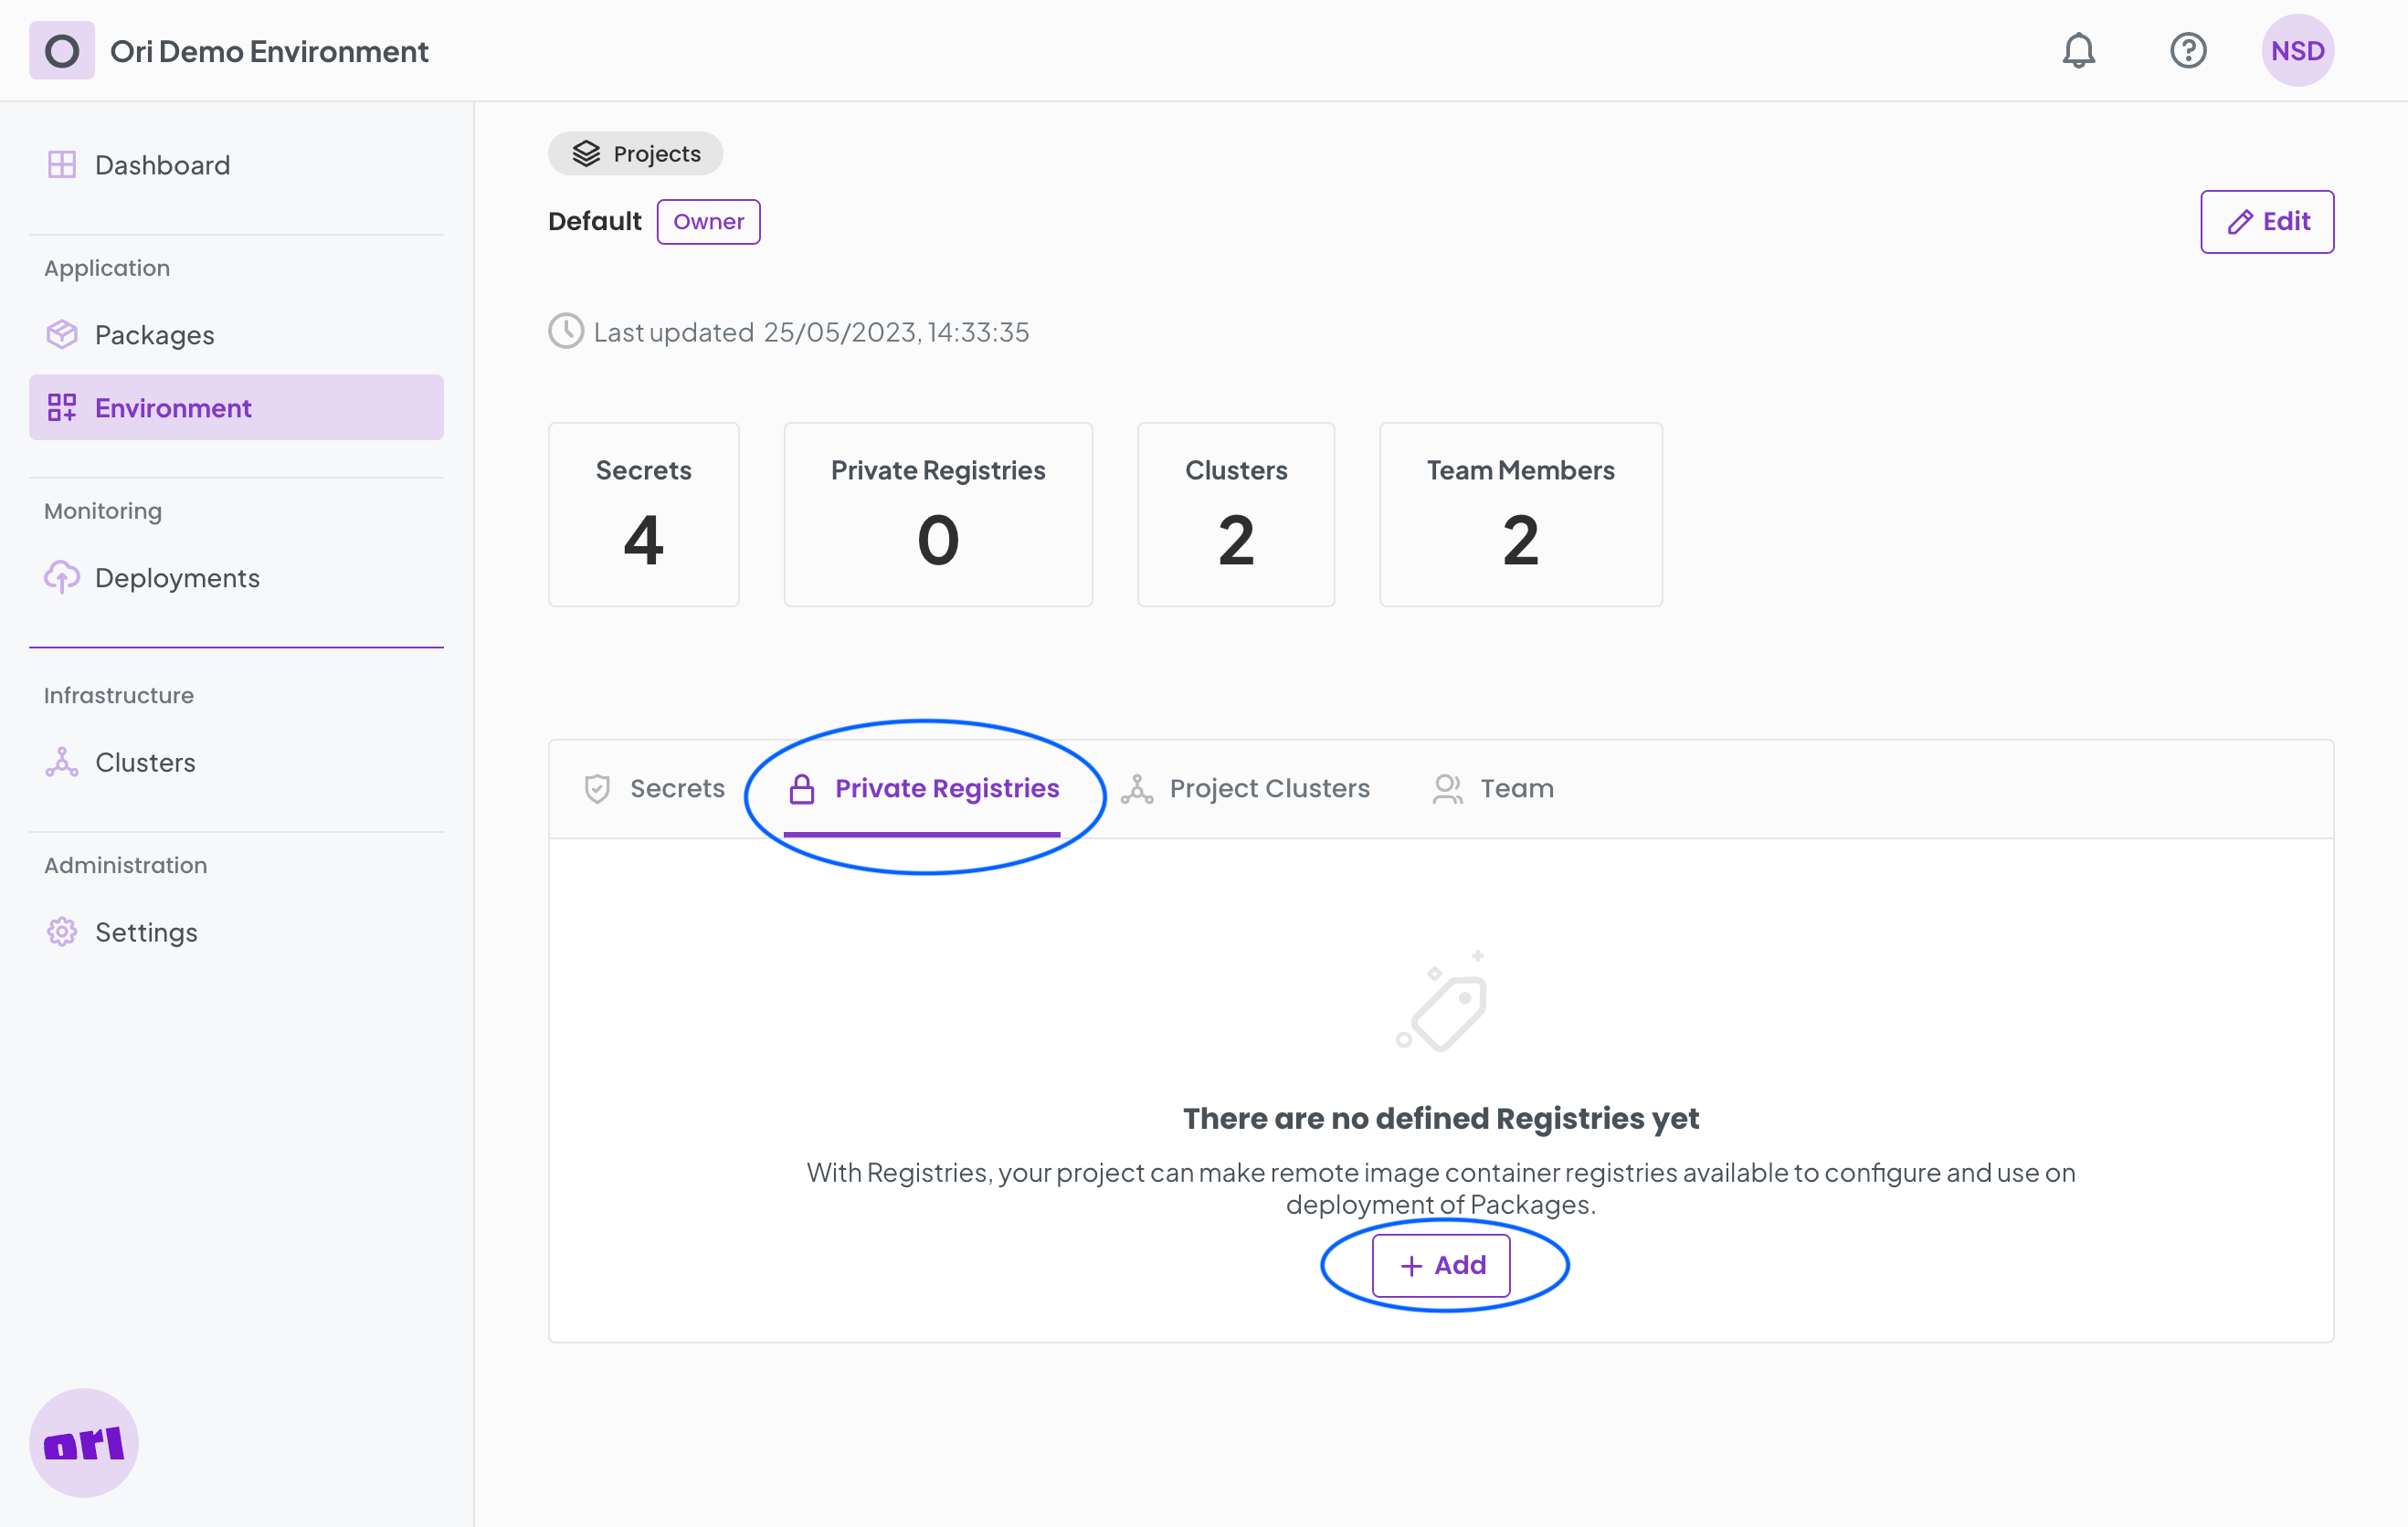
Add a new Private Registry
To add a new private registry to OGC, you start by navigating to the Private Registries tab on the Project Settings page and then follow the steps below:
- In the Private Registries tab, select
+Add. - Provide a name (e.g.
my-registry), and the url for the registry. - Enter the private credentials (username and password) - this information will be stored securely.
- Finally select
Save.
The stored Private Registry will be available to used while Configuring Containers.
Modify a Private Registry
On the Project Settings page, in the Private Registries tab you can modify existing entries by:
- Select an existing entry by clicking its name (e.g.
my-registry). - A modal form opens up for that registry where its details can be updated.
- Select
Savewhen done with your updates.
The Private Registry details will be updated.
Delete a Private Registry
When needed, a private registry can be removed from OGC.
- Go to the Private Registries tab on the Project details page.
- Select an existing entry by clicking its name.
- A modal form opens up for that registry.
- Select
Deleteand confirm.
The Private Registry will now be deleted.