Create a Chatbot with Ori Inference and Gradio
Welcome! In this hands-on tutorial, you'll build an interactive Gradio bot powered by Ori's inference endpoints. By the end of this guide, you'll have a live bot you can interact with, perfect for showcasing AI capabilities!
If you're unfamiliar with launching Ori inference endpoints, check out the Introducing Ori Inference Endpoints blog post for setup instructions.
🚀 Prerequisites
Before you begin, make sure you have:
- Ori Inference Endpoint: Ensure you have an active endpoint on Ori. Note the endpoint's API URL and API Access Token.
- Python Installed: Python 3.10 or higher and preferably a virtual environment.
- Required Libraries: Install these packages:
pip install gradio requests openai
Note Gradio 5 or higher must be installed.
🛠️ Step 1: Build Your Gradio bot
Here's the Python script to bring your bot to life. It connects to your Ori inference endpoint to process user messages. In our case, we deployed the Qwen 2.5 1.5B-instruct model to the Ori endpoint. Gradio handles the formatting of the model's response in a user-friendly and readable way, so you don't need to worry about restructuring the generated text.
The Code
import os
from collections.abc import Callable, Generator
from gradio.chat_interface import ChatInterface

# API Configuration
ENDPOINT_URL = os.getenv("ENDPOINT_URL")
ENDPOINT_TOKEN = os.getenv("ENDPOINT_TOKEN")

if not ENDPOINT_URL:
    raise ValueError("ENDPOINT_URL environment variable is not set. Please set it before running the script.")

if not ENDPOINT_TOKEN:
    raise ValueError("ENDPOINT_TOKEN environment variable is not set. Please set it before running the script.")

try:
    from openai import OpenAI
except ImportError as e:
    raise ImportError(
        "To use OpenAI API Client, you must install the `openai` package. You can install it with `pip install openai`."
    ) from e


system_message = None
model = "model"
client = OpenAI(api_key=ENDPOINT_TOKEN, base_url=f"{ENDPOINT_URL}/openai/v1/")
start_message = (
    [{"role": "system", "content": system_message}] if system_message else []
)
streaming = True

def open_api(message: str, history: list | None) -> str | None:
    history = history or start_message
    if len(history) > 0 and isinstance(history[0], (list, tuple)):
        history = ChatInterface._tuples_to_messages(history)
    return (
        client.chat.completions.create(
            model=model,
            messages=history + [{"role": "user", "content": message}],
        )
        .choices[0]
        .message.content
    )

def open_api_stream(
    message: str, history: list | None
) -> Generator[str, None, None]:
    history = history or start_message
    if len(history) > 0 and isinstance(history[0], (list, tuple)):
        history = ChatInterface._tuples_to_messages(history)
    stream = client.chat.completions.create(
        model=model,
        messages=history + [{"role": "user", "content": message}],
        stream=True,
    )
    response = ""
    for chunk in stream:
        if chunk.choices[0].delta.content is not None:
            response += chunk.choices[0].delta.content
            yield response

ChatInterface(
    open_api_stream if streaming else open_api,
    type="messages",
).launch(share=True)
Steps to Run
- Save the script as
chatbot.py. - Set the
ENDPOINT_TOKENenvironment variable with your API key:export ENDPOINT_TOKEN="your_api_token"
export ENDPOINT_URL="your_url" - Run the script:
python chatbot.py - Open the Gradio link provided in the terminal (e.g.,
https://618cdfd1a2283ae739.gradio.live).
Tip: You can customise the bot’s appearance by tweaking the Gradio code and add more blocks!
📸 Step 2: See It in Action
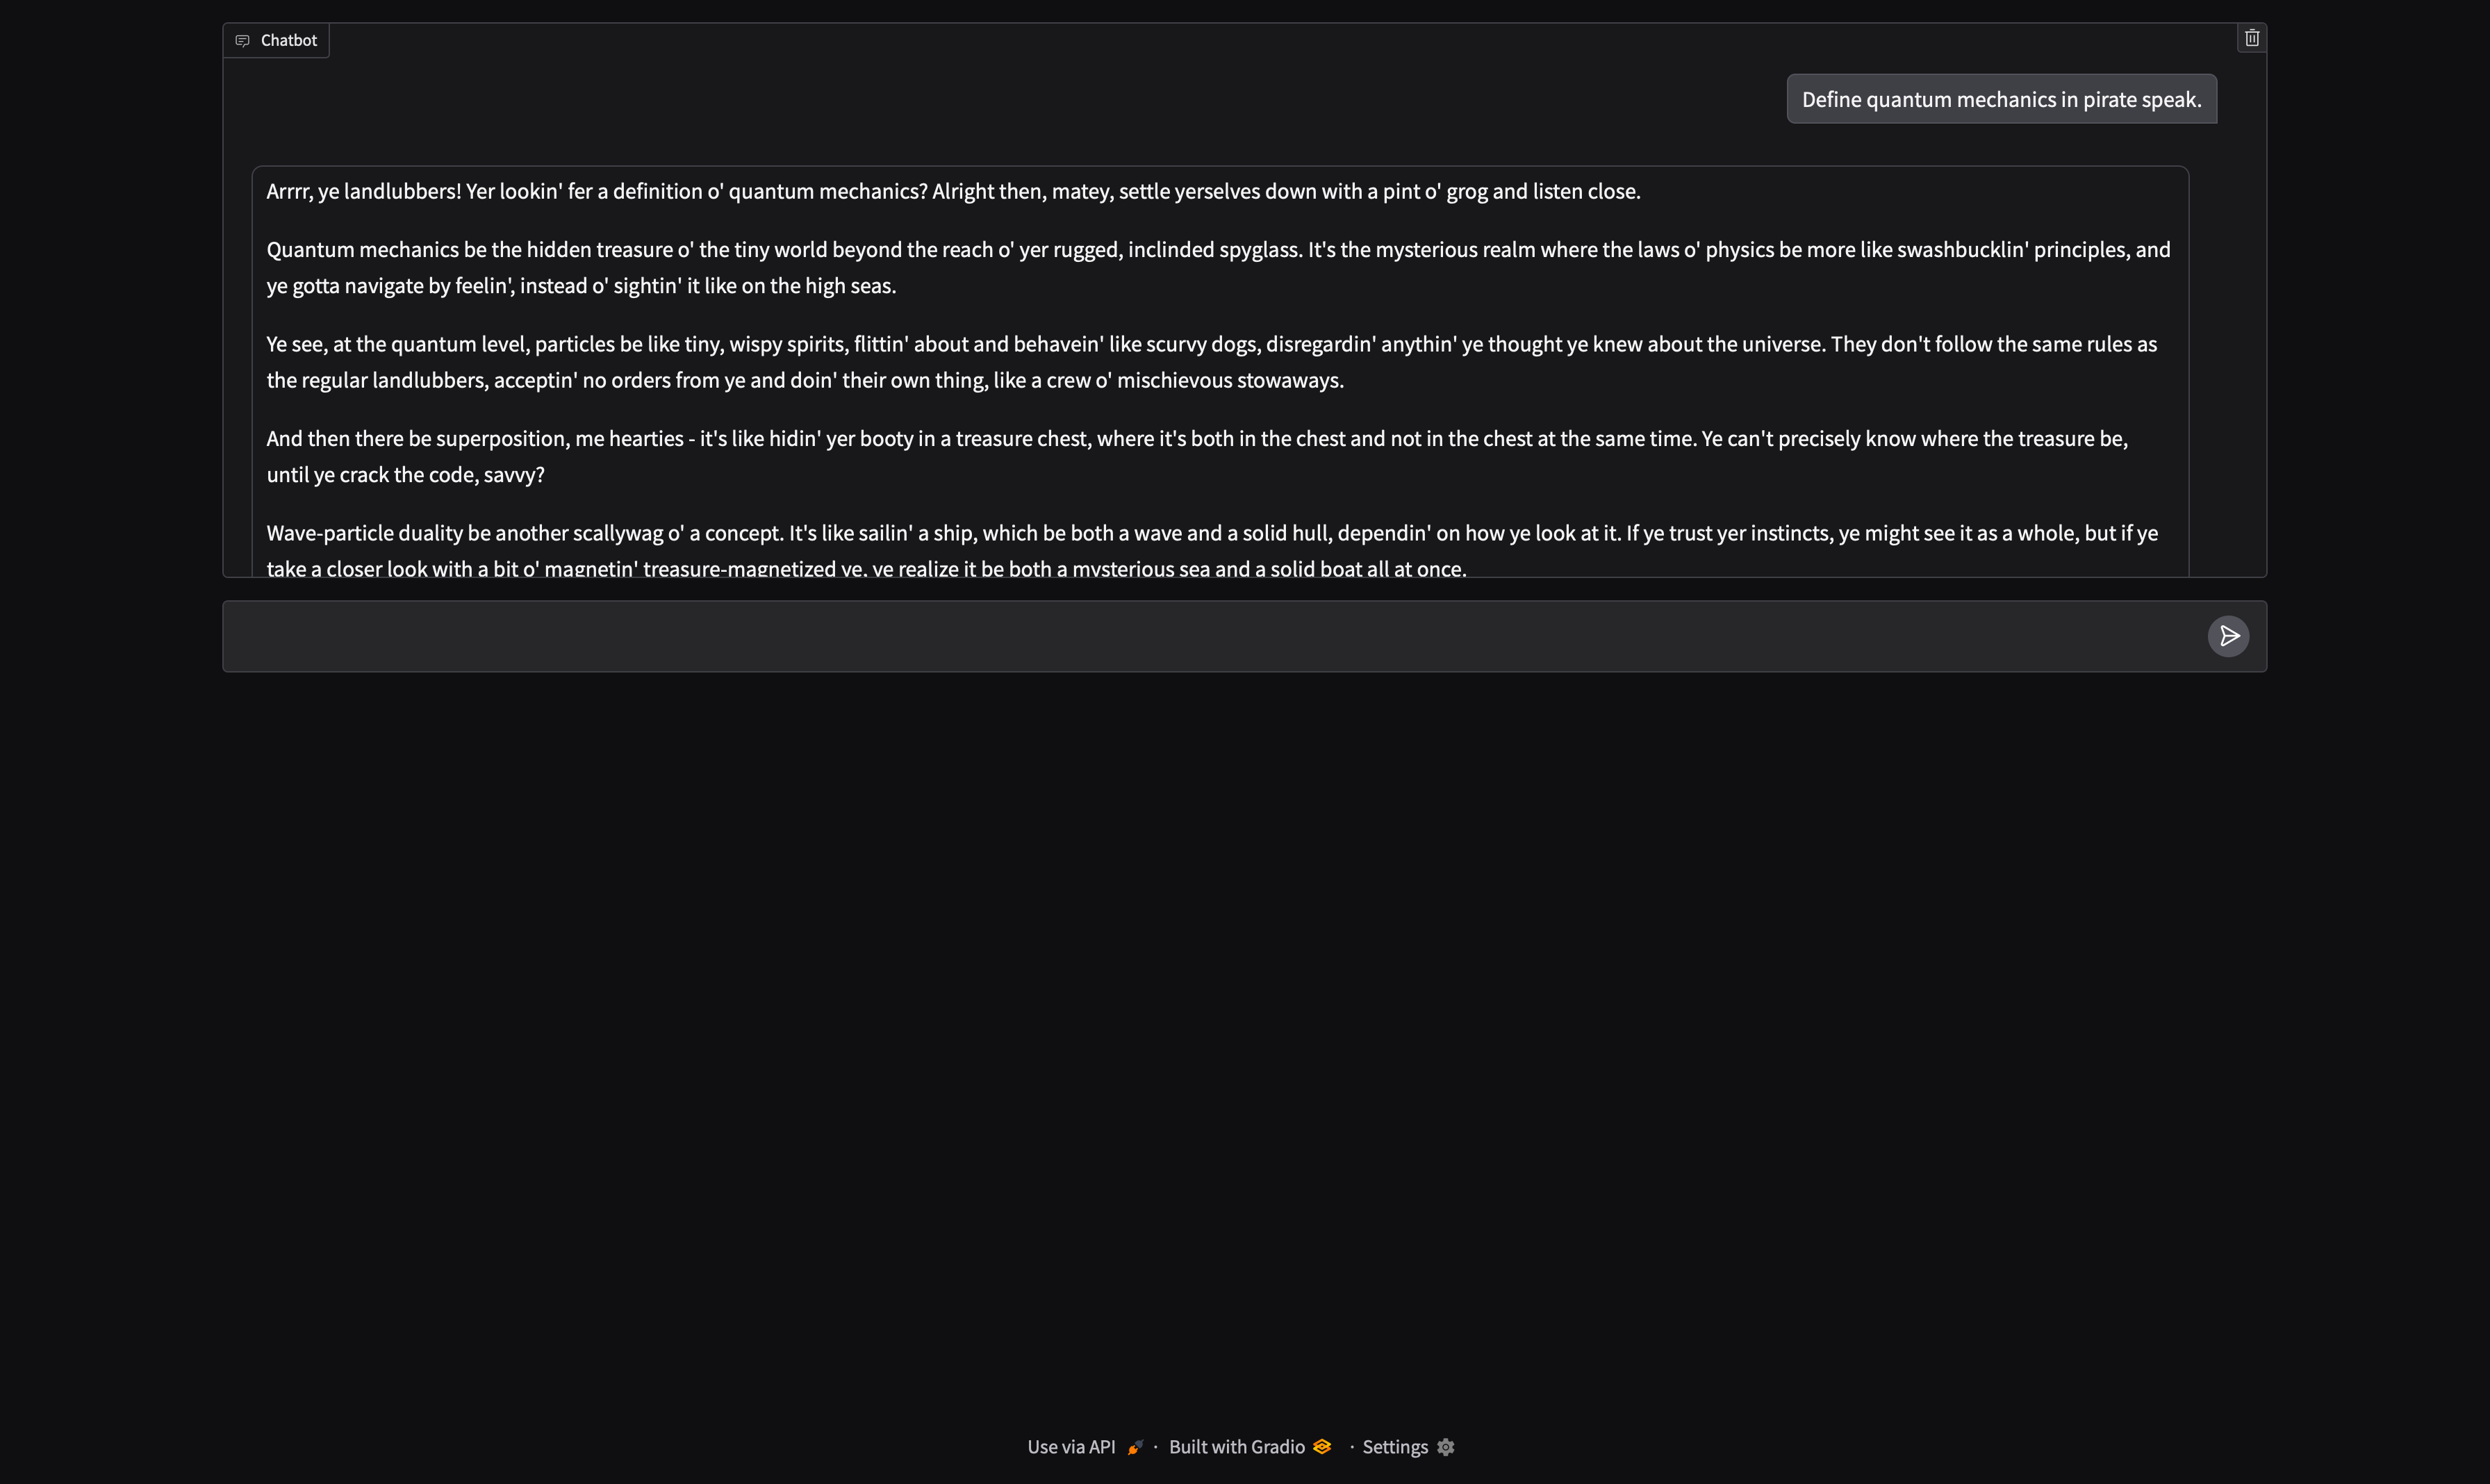
Once your bot is live, it will look something like this:

- The input box allows you to type messages.
- The area displays the conversation.
Conclusion
Congratulations! 🎉 You’ve successfully built and launched a Gradio bot powered by Ori's inference service. Now, it’s time to experiment with different prompts.
Have fun exploring, and feel free to share your results or ask for help if needed. 🚀