LLM Application (Ollama & Open WebUI)
Welcome to the guide on how to build and deploy large language model (LLM) applications using our serverless Kubernetes platform. This document provides a simple walkthrough for deploying an LLM application using a combination of Ollama and OpenWebUI, and leveraging ready-to-use Docker containers. By the end of this guide, you'll have a scalable LLM application up and running on OGC.
Prerequisites
Before you start, ensure you have the following:
- A registered account with Ori Global Cloud.
- Docker installed on your local machine.
kubectlCLI tool installed on your local machine. This tool is necessary to communicate with your Kubernetes cluster.- A Kubernetes cluster created and configured according to the Ori Kubernetes Get Started Guide.
Step 1: Create an Entrypoint Script with ConfigMap
To automate the startup of the Ollama service and the pulling of the Llama model, we will create a custom entrypoint script. This script will be stored in a ConfigMap and mounted into the Ollama container.
Create a file named entrypoint-configmap.yaml with the following content:
apiVersion: v1
kind: ConfigMap
metadata:
  name: ollama-entrypoint
data:
  entrypoint.sh: |
    #!/bin/bash

    # Start Ollama in the background.
    /bin/ollama serve &

    # Record Process ID.
    pid=$!

    # Pause for Ollama to start.
    sleep 5

    # Retrieve model
    ollama pull llama3.1

    # Wait for Ollama process to finish.
    wait $pid
This script starts the Ollama service, pulls the Llama 3.1 model, and ensures that the service remains running.
Apply ConfigMap to your Kubernetes cluster:
kubectl apply -f entrypoint-configmap.yaml
Step 2: Create Deployments
To deploy your application, you'll need to create Kubernetes deployment manifests for both the Ollama and OpenWebUI services. These manifests define the desired state of your application, including the containers to run, the ports to expose, the persistent volume and the entrypoint script.
Ollama Deployment
Create a file named ollama-deployment.yaml with the following content:
apiVersion: apps/v1
kind: Deployment
metadata:
  name: ollama-deployment
  labels:
    app: ollama
spec:
  replicas: 1
  selector:
    matchLabels:
      app: ollama
  template:
    metadata:
      labels:
        app: ollama
    spec:
      containers:
      - name: ollama
        image: ollama/ollama:latest
        ports:
        - containerPort: 80

        # -------------------------------------------------------
        # The following section is optional. Uncomment and apply
        # it only if you want to use a Persistent Volume for
        # storing model data (see Step 10)
        # -------------------------------------------------------
        volumeMounts:
        - name: model-storage
          mountPath: /root/.ollama  # Persist model data
        # -------------------------------------------------------
        # End of Optional Configuration
        # -------------------------------------------------------

        volumeMounts:
        - name: entrypoint-script
          mountPath: /entrypoint.sh
          subPath: entrypoint.sh
        command: ["/usr/bin/bash", "/entrypoint.sh"]
        resources:
          limits:
            nvidia.com/gpu: 1  # Requesting 1 NVIDIA GPU if available

      # -------------------------------------------------------
      # The following section is optional. Uncomment and apply
      # it only if you want to use a Persistent Volume for
      # storing model data (see Step 10)
      # -------------------------------------------------------
      volumes:
      - name: model-storage
        persistentVolumeClaim:
          claimName: ollama-pvc  # Ensure this PVC exists
      # -------------------------------------------------------
      # End of Optional Configuration
      # -------------------------------------------------------

      volumes:
      - name: entrypoint-script
        configMap:
          name: ollama-entrypoint
          defaultMode: 0755
      nodeSelector:
        gpu.nvidia.com/class: L40S  # Ensure this matches the GPU nodes in your cluster
This manifest specifies that the Ollama service will use the ollama/ollama:latest ready-to-use Docker image and expose port 80, and specifies a single L40S GPU to be used, and also specifies a PV. You can access the image here.
Apply the manifest to deploy Kubernetes cluster:
kubectl apply -f ollama-deployment.yaml
OpenWebUI Deployment
Next, create a file named openwebui-deployment.yaml:
apiVersion: apps/v1
kind: Deployment
metadata:
  name: openwebui-deployment
  labels:
    app: openwebui
spec:
  replicas: 1
  selector:
    matchLabels:
      app: openwebui
  template:
    metadata:
      labels:
        app: openwebui
    spec:
      containers:
      - name: openwebui
        image: ghcr.io/open-webui/open-webui:main
        ports:
        - containerPort: 8080
        env:
        - name: OLLAMA_BASE_URL
          value: "http://ollama-service:80"
This manifest specifies that the OpenWebUI service will use the ghcr.io/open-webui/open-webui:main Docker image, expose port 8080, and connect to the Ollama service via an environment variable. You can find more information about OpenWebUI here.
Now deploy OpenWebUI to your Kubernetes cluster:
kubectl apply -f openwebui-deployment.yaml
Step 3: Create Services
To make the Ollama and OpenWebUI deployments accessible within and outside the Kubernetes cluster, you need to create service manifests. These services route traffic to the appropriate pods, allowing communication between different parts of your application and external clients.
Ollama Service
Create a file named ollama-service.yaml with the following content:
apiVersion: v1
kind: Service
metadata:
  name: ollama-service
  labels:
    type: external
spec:
  type: LoadBalancer
  ports:
  - port: 80
    targetPort: 11434
    protocol: TCP
  selector:
    app: ollama
This manifest instructs the Ollama service to be exposed via a load balancer. The service listens on port 80 externally and forwards traffic to port 11434 on the Ollama pod.
Expose the Ollama service:
kubectl apply -f ollama-service.yaml
OpenWebUI Service
Next, create a file named openwebui-service.yaml with the following content:
apiVersion: v1
kind: Service
metadata:
  name: openwebui-service
  labels:
    type: external
spec:
  type: LoadBalancer
  ports:
  - port: 8080
    targetPort: 8080
    protocol: TCP
  selector:
    app: openwebui
The OpenWebUI service is also exposed via a load balancer. The service listens on port 8080 externally and forwards traffic to the same port on the OpenWebUI pod.
Expose the OpenWebUI service:
kubectl apply -f openwebui-service.yaml
Step 4: Verify Deployments
After deploying the Ollama and OpenWebUI services, it's important to verify that everything is running as expected. This step will guide you through checking the status of your deployments and services within the Kubernetes cluster.
Check Pod Status
Use the following command to check the status of the pods:
kubectl get pods
You should see the Ollama and OpenWebUI pods listed with a status of Running.
Step 5: Access the Ollama Service
With the Ollama service deployed and verified, the next step is to access the service to ensure it's working properly. This involves retrieving the external IP address of the service and interacting with it directly.
Retrieve the External IP of the Ollama Service
To get the external IP address assigned to the Ollama service, use the following command:
kubectl get service ollama-service
This command will return details about the ollama-service, including its external IP address. You should see output similar to this:
NAME             TYPE           CLUSTER-IP     EXTERNAL-IP      PORT(S)        AGE
ollama-service   LoadBalancer   10.0.0.1       <external-ip>    80:30000/TCP   5m
Note the value under EXTERNAL-IP. This is the IP address you can use to access the Ollama service. You can load this IP in your web browser to check if the service is running. You should see a message saying: Ollama is running.
Step 6: Access OpenWebUI
Similarly to the Ollama service, copy the external IP of the OpenWebUI service:
kubectl get service openwebui-service
Load this IP in your web browser. You'll be taken to the OpenWebUI interface.
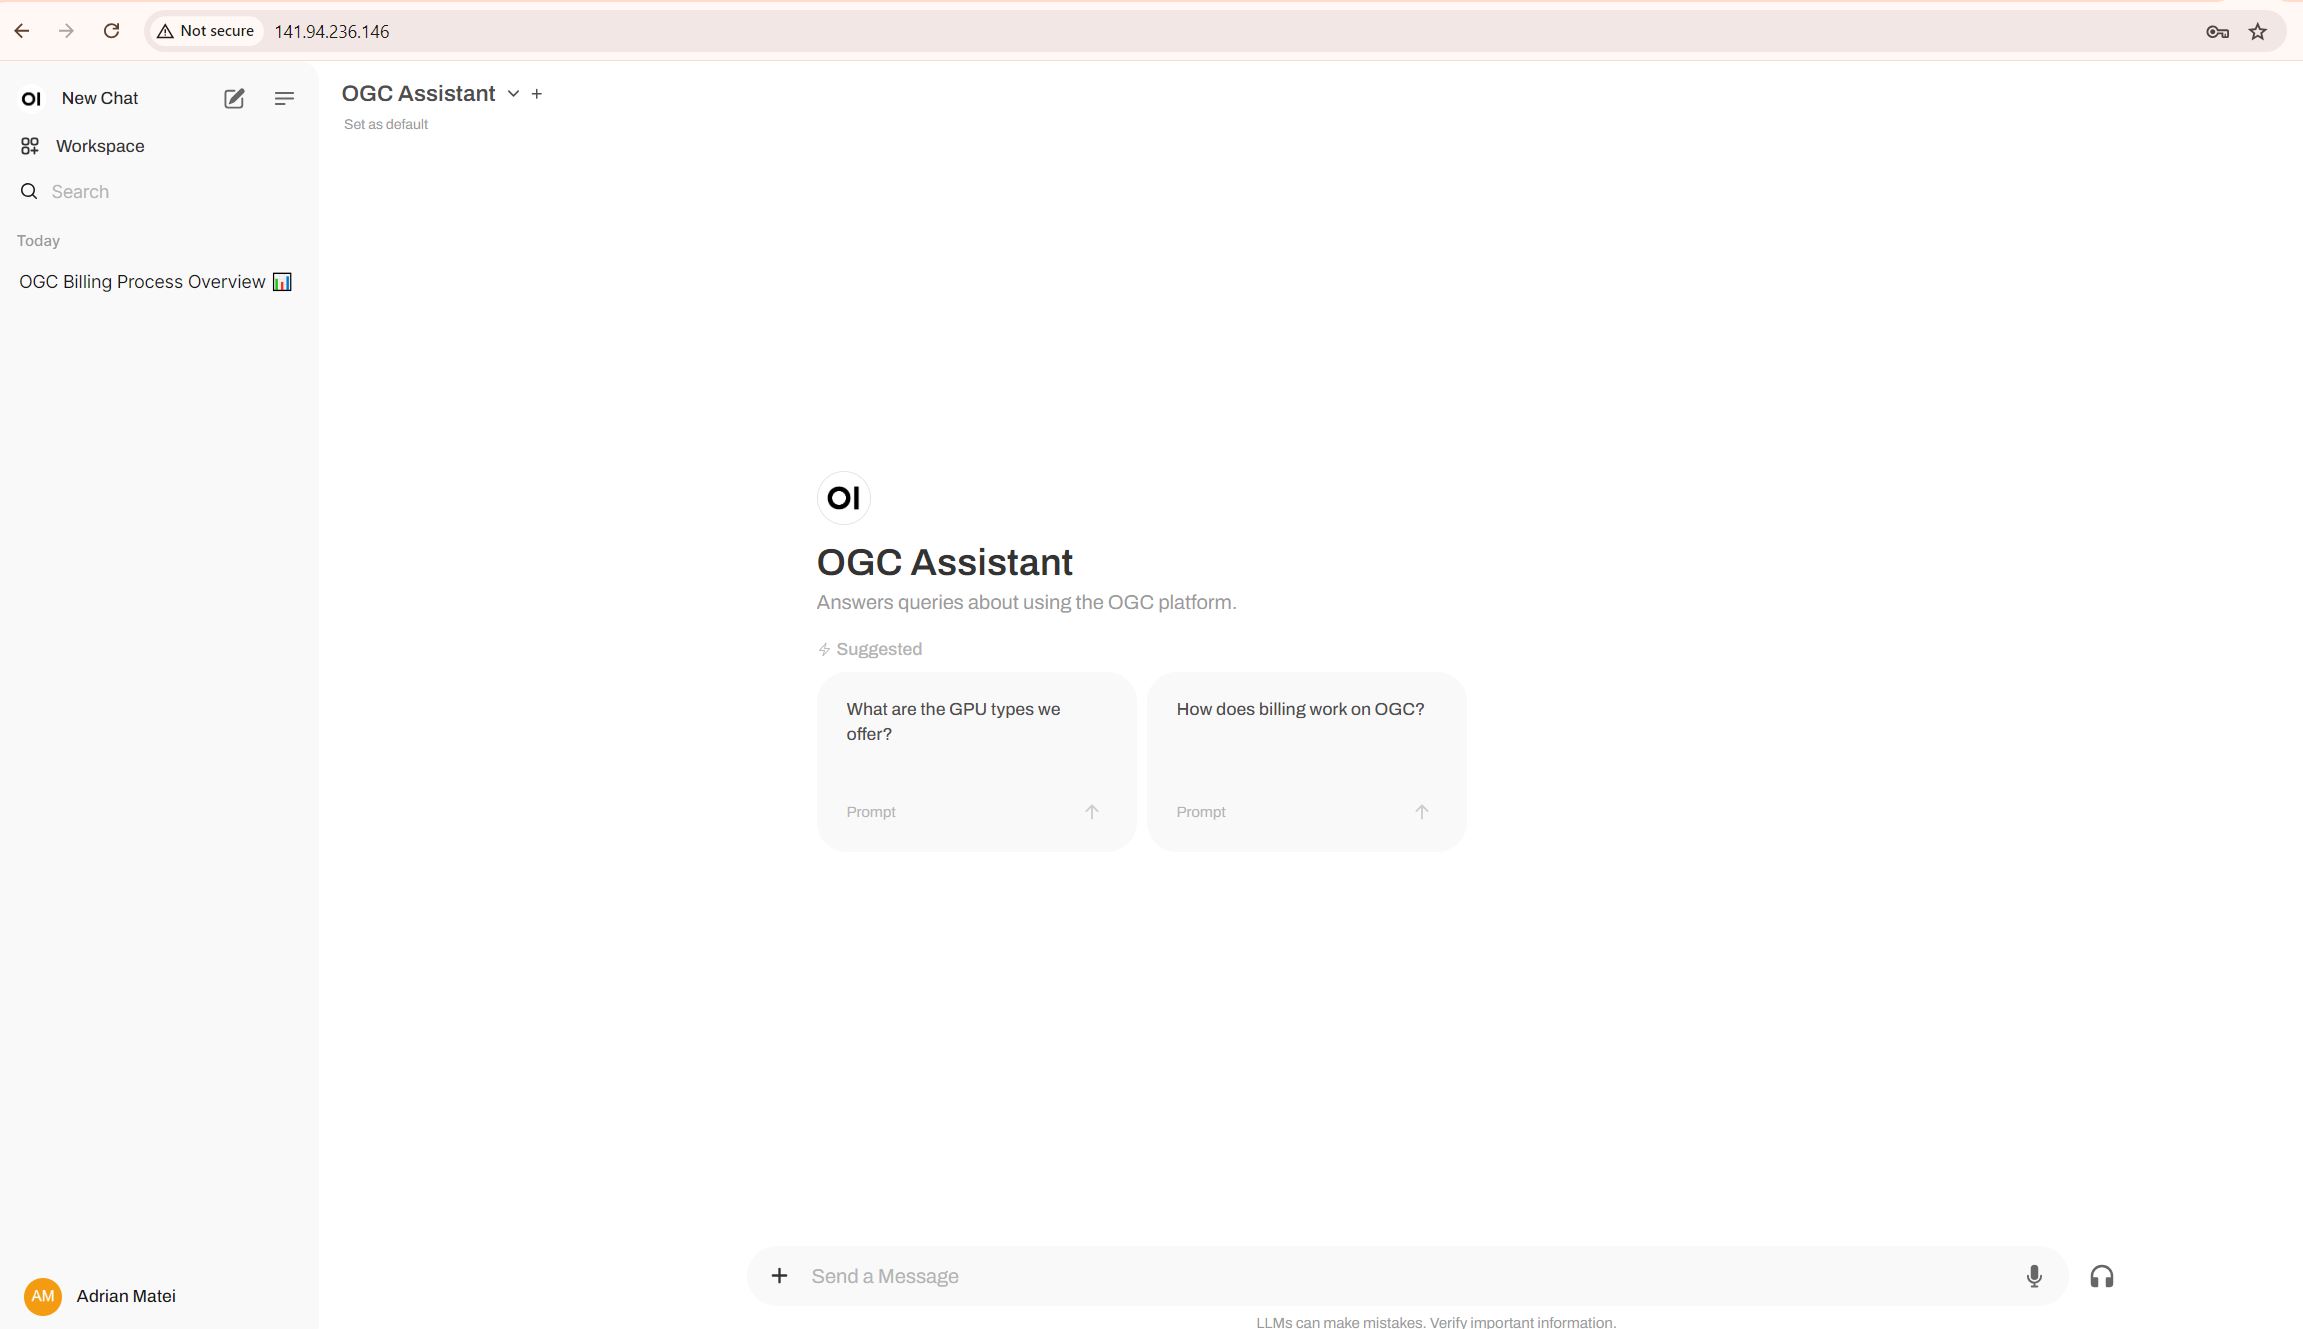
Step 7: Customise OpenWebUI and Deploy Your Chatbot
OpenWebUI provides a ChatGPT-like interface with an integrated RAG for interacting with your models. Open Follow these steps to customise your chatbot:
Model Selection
- Check if the Llama 3.1 8B model is available for selection.
Customisation
Use the OpenWebUI interface to create a custom chatbot:
- Naming: Give your chatbot a name.
- Upload Documents: Upload specific documents that provide context for your model.
- Set Prompt Template: Define a prompt template to control the tone of responses and restrict the chatbot to answer questions based on the uploaded documents.
Step 9 (Optional): Scale Your Deployment
Using OGC’s serverless Kubernetes, scaling your LLM-based application is straightforward. Adjust the replicas field in your deployment manifests to increase or decrease the number of instances running:
spec:
  replicas: 3  # Scale up to 3 instances
To speed up your inference even further, you can also easly increase the number of even more powerfull GPUs in the Ollama deployment manifest file.
Note: You are not restricted to using one type of Llama model, so you can pull any model supported by Ollama. Check the list of available models here
Step 10 (Optional): Use Persistent Storage for the Model
To prevent the model from being pulled every time the pod restarts, we can use a Persistent Volume (PV) and Persistent Volume Claim (PVC) to store the model persistently. This way, the model is only pulled once, and subsequent pod restarts will use the already downloaded model. Define the pv-pvc.yaml file:
apiVersion: v1
kind: PersistentVolume
metadata:
  name: ollama-pv
spec:
  capacity:
    storage: 10Gi
  accessModes:
    - ReadWriteOnce
  hostPath:
    path: "/mnt/data/ollama"  # Adjust the path as needed
---
apiVersion: v1
kind: PersistentVolumeClaim
metadata:
  name: ollama-pvc
spec:
  accessModes:
    - ReadWriteOnce
  resources:
    requests:
      storage: 10Gi
And apply the PV and PVC configuration:
kubectl apply -f pv-pvc.yaml
Congratulations! You have successfully deployed an LLM-based application using Ollama and OpenWebUI on Ori Global Cloud's serverless Kubernetes. This powerful combination allows you to build and scale large language model applications efficiently without needing to manage complex infrastructure. For further customisation and scaling, refer to OGC’s comprehensive documentation and support services.